Basic Visualization
This tutorial explains the basic methods for displaying maps using navara_three.
This tutorial assumes a TypeScript project with a bundler such as Vite. Install the Navara packages and their peer dependencies:
npm install @navaramap/three @navaramap/three-default-plugin three postprocessingyarn add @navaramap/three @navaramap/three-default-plugin three postprocessingpnpm add @navaramap/three @navaramap/three-default-plugin three postprocessingDisplaying a Map
Section titled “Displaying a Map”Adding a Raster Layer
Section titled “Adding a Raster Layer”Create index.html at the project root with the following content:
<!DOCTYPE html><html lang="en"> <head> <meta charset="UTF-8" /> <meta name="viewport" content="width=device-width, initial-scale=1.0" /> <title>Navara Three</title> </head> <body style="margin: 0; overflow: hidden"> <script type="module" src="/src/main.ts"></script> </body></html>Next, create src/main.ts with the following content:
import ThreeView from "@navaramap/three";import { DefaultPlugin, type DefaultDescriptions } from "@navaramap/three-default-plugin";
// Create a ThreeView instanceconst plugin = new DefaultPlugin();const view = new ThreeView<DefaultDescriptions>({});view.addPlugin(plugin);await view.init();
By adding DefaultPlugin, the default descriptors for meshes, effects, and lights become available.
Add the following code to main.ts:
// Add basic ambient lightview.addLight({  ambient: {},});
// Add OpenStreetMap tile layerconst osmSource = view.addSource({  type: "raster-tile",  // Credit:  // - © OpenStreetMap contributors  //   https://www.openstreetmap.org/copyright  url: "https://tile.openstreetmap.org/{z}/{x}/{y}.png",  maxZoom: 23,});view.addLayer({  type: "raster",  source: osmSource,});
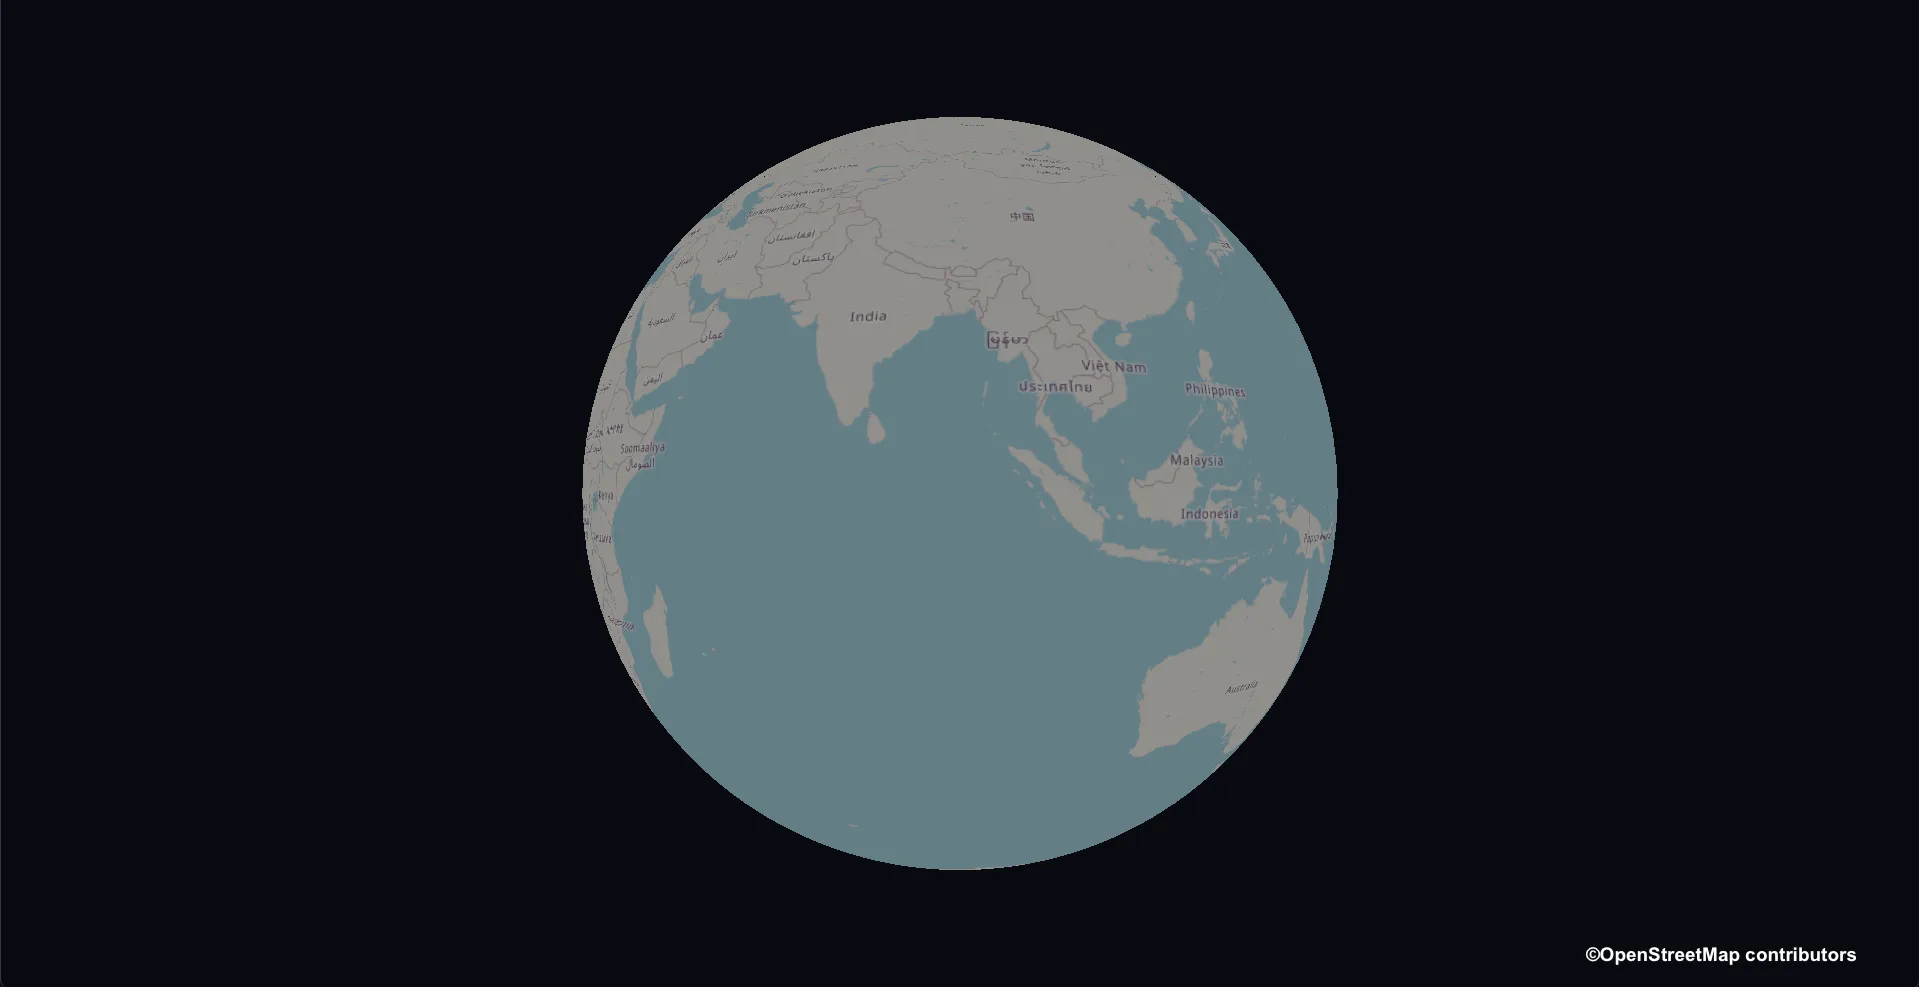
Result
Section titled “Result”A base map will be displayed on the globe in the scene.
Code Explanation
Section titled “Code Explanation”Initializing ThreeView
const plugin = new DefaultPlugin();const view = new ThreeView<DefaultDescriptions>({});view.addPlugin(plugin);await view.init();Create a ThreeView instance, register default descriptors with DefaultPlugin, and then initialize. This sets up the 3D scene and camera.
Adding Light
view.addLight({ ambient: {},});Add basic ambient light to illuminate the scene.
Adding a Raster Layer
const osmSource = view.addSource({ type: "raster-tile", // Credit: // - © OpenStreetMap contributors // https://www.openstreetmap.org/copyright url: "https://tile.openstreetmap.org/{z}/{x}/{y}.png", maxZoom: 23,});view.addLayer({ type: "raster", source: osmSource,});Add a map layer using OpenStreetMap raster tiles.
Complete Code
Section titled “Complete Code”import ThreeView from "@navaramap/three";import { DefaultPlugin, type DefaultDescriptions } from "@navaramap/three-default-plugin";
// Create a ThreeView instanceconst plugin = new DefaultPlugin();const view = new ThreeView<DefaultDescriptions>({});view.addPlugin(plugin);await view.init();
view.addLight({ ambient: {},});
// Add OpenStreetMap tile layerconst osmSource = view.addSource({ type: "raster-tile", // Credit: // - © OpenStreetMap contributors // https://www.openstreetmap.org/copyright url: "https://tile.openstreetmap.org/{z}/{x}/{y}.png", maxZoom: 23,});view.addLayer({ type: "raster", source: osmSource,});Setting the Camera Position
Section titled “Setting the Camera Position”Set the Camera Position
Section titled “Set the Camera Position”To display the map at a specific location, set the camera position. Add the following to main.ts:
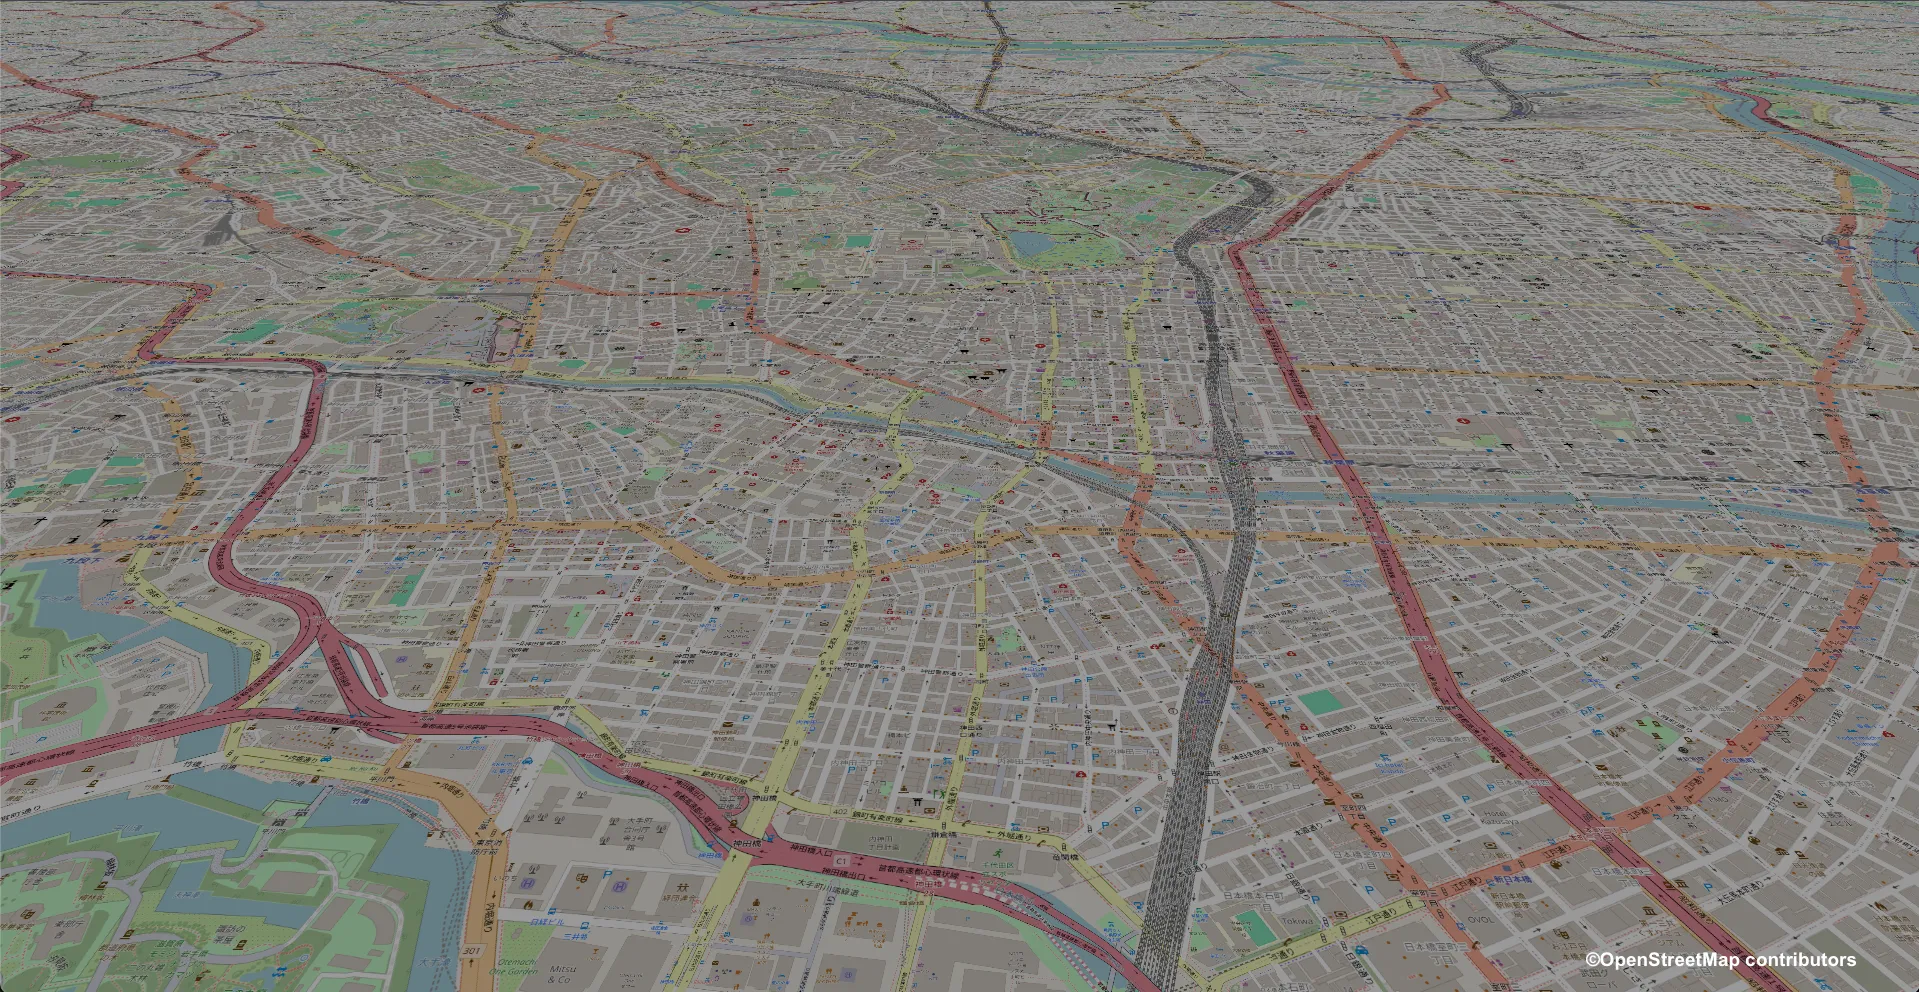
view.setCamera({ lng: 139.7671, lat: 35.6812, height: 1000, heading: 0, // -180 to 180 pitch: -30, // -180 to 0 roll: 0, // -180 to 180});Result
Section titled “Result”The camera position is set to the area around Tokyo.
Code Explanation
Section titled “Code Explanation”You can set the camera position and orientation using the view.setCamera() method. For details on the parameters, see ThreeView Functions.
Complete Code
Section titled “Complete Code”import ThreeView from "@navaramap/three";import { DefaultPlugin, type DefaultDescriptions } from "@navaramap/three-default-plugin";
// Create a ThreeView instanceconst plugin = new DefaultPlugin();const view = new ThreeView<DefaultDescriptions>({});view.addPlugin(plugin);await view.init();
view.addLight({ ambient: {},});
// Add OpenStreetMap tile layerconst osmSource = view.addSource({ type: "raster-tile", // Credit: // - © OpenStreetMap contributors // https://www.openstreetmap.org/copyright url: "https://tile.openstreetmap.org/{z}/{x}/{y}.png", maxZoom: 23,});view.addLayer({ type: "raster", source: osmSource,});
view.setCamera({ lng: 139.7671, lat: 35.6812, height: 1000, heading: 0, // -180 to 180 pitch: -30, // -180 to 0 roll: 0, // -180 to 180});Displaying Terrain
Section titled “Displaying Terrain”In this tutorial, you will learn how to add terrain data to the map created in the previous step.
Adding a Terrain Layer
Section titled “Adding a Terrain Layer”Add a terrain layer to src/main.ts.
First, import JAPAN_GSI_ELEVATION_DECODER to decode the terrain tiles.
import ThreeView, { JAPAN_GSI_ELEVATION_DECODER } from "@navaramap/three";Add the terrain layer before the raster tile layer (layers are rendered in the order they are added):
// Add terrain layerconst demSource = view.addSource({  type: "raster-dem",  // Credit:  // - Geospatial Information Authority of Japan Tiles - Digital Elevation Map  //   https://maps.gsi.go.jp/development/ichiran.html  url: "https://cyberjapandata.gsi.go.jp/xyz/dem_png/{z}/{x}/{y}.png",  minZoom: 6,  maxZoom: 15,  elevationDecoder: JAPAN_GSI_ELEVATION_DECODER(),});view.addLayer({  type: "terrain",  source: demSource,  terrain: {    castShadow: true,    receiveShadow: true,  },});
view.addLayer({  type: "raster",  source: demSource,  hillshade: {},});
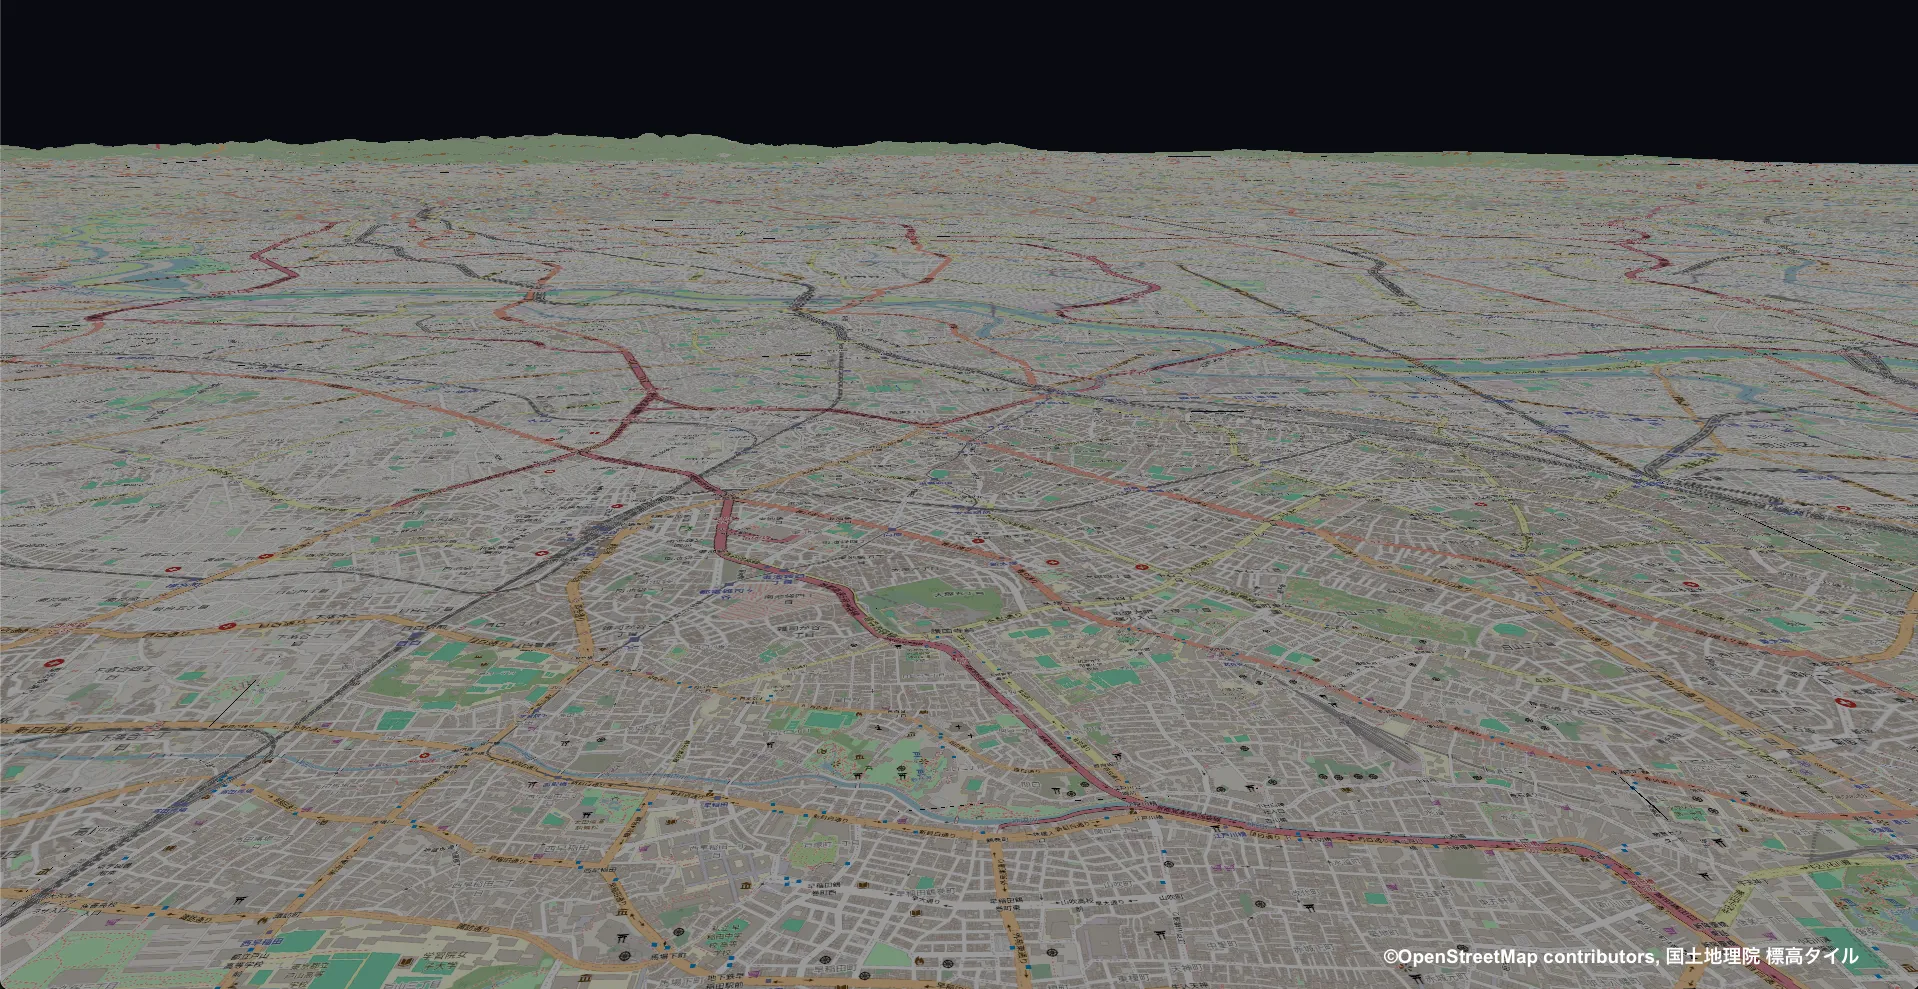
Result
Section titled “Result”When you tilt the map, you can see the terrain relief.
Code Explanation
Section titled “Code Explanation”Terrain Data Source
// Credit:// - Geospatial Information Authority of Japan Tiles - Digital Elevation Map// https://maps.gsi.go.jp/development/ichiran.htmlurl: "https://cyberjapandata.gsi.go.jp/xyz/dem_png/{z}/{x}/{y}.png",Here we use the elevation tiles from the Geospatial Information Authority of Japan.
Terrain Settings
source: view.addSource({ type: "raster-dem", url: "https://cyberjapandata.gsi.go.jp/xyz/dem_png/{z}/{x}/{y}.png", minZoom: 6, maxZoom: 15, elevationDecoder: JAPAN_GSI_ELEVATION_DECODER(),}),terrain: { castShadow: true, receiveShadow: true,},- The maximum zoom level, minimum zoom level, and shadows for terrain tiles are configured here.
- The elevationDecoder decodes the terrain data.
For details, see Terrain Layer.
Complete Code
Section titled “Complete Code”import ThreeView, { JAPAN_GSI_ELEVATION_DECODER } from "@navaramap/three";import { DefaultPlugin, type DefaultDescriptions } from "@navaramap/three-default-plugin";
// Create a ThreeView instanceconst plugin = new DefaultPlugin();const view = new ThreeView<DefaultDescriptions>({});view.addPlugin(plugin);await view.init();
view.addLight({ ambient: {},});
// Add terrain layerconst demSource = view.addSource({ type: "raster-dem", // Credit: // - Geospatial Information Authority of Japan Tiles - Digital Elevation Map // https://maps.gsi.go.jp/development/ichiran.html url: "https://cyberjapandata.gsi.go.jp/xyz/dem_png/{z}/{x}/{y}.png", minZoom: 6, maxZoom: 15, elevationDecoder: JAPAN_GSI_ELEVATION_DECODER(),});view.addLayer({ type: "terrain", source: demSource, terrain: { castShadow: true, receiveShadow: true, },});
view.addLayer({ type: "raster", source: demSource, hillshade: {},});
// Add OpenStreetMap tile layerconst osmSource = view.addSource({ type: "raster-tile", // Credit: // - © OpenStreetMap contributors // https://www.openstreetmap.org/copyright url: "https://tile.openstreetmap.org/{z}/{x}/{y}.png", maxZoom: 23,});view.addLayer({ type: "raster", source: osmSource,});
view.setCamera({ lng: 139.7671, lat: 35.6812, height: 1000, heading: 0, // -180 to 180 pitch: -30, // -180 to 0 roll: 0, // -180 to 180});Displaying GeoJSON Data
Section titled “Displaying GeoJSON Data”In this tutorial, you will learn how to display polygons on the map using GeoJSON data.
Adding a GeoJSON Layer
Section titled “Adding a GeoJSON Layer”Add a GeoJSON layer to src/main.ts.
// Display polygon dataconst geojsonSource = view.addSource({ type: "geojson", data: { type: "Feature", properties: { name: "Area" }, geometry: { type: "Polygon", coordinates: [ [ [139.75843063805576, 35.70688252862743], [139.75843063805576, 35.700933240062355], [139.77157543771887, 35.700933240062355], [139.77157543771887, 35.70688252862743], [139.75843063805576, 35.70688252862743], ], ], }, },});view.addLayer({ type: "vector", source: geojsonSource, polygon: { color: new Color().setHex(0x00ff00), height: 0, opacity: 0.5, transparent: true, },});Result
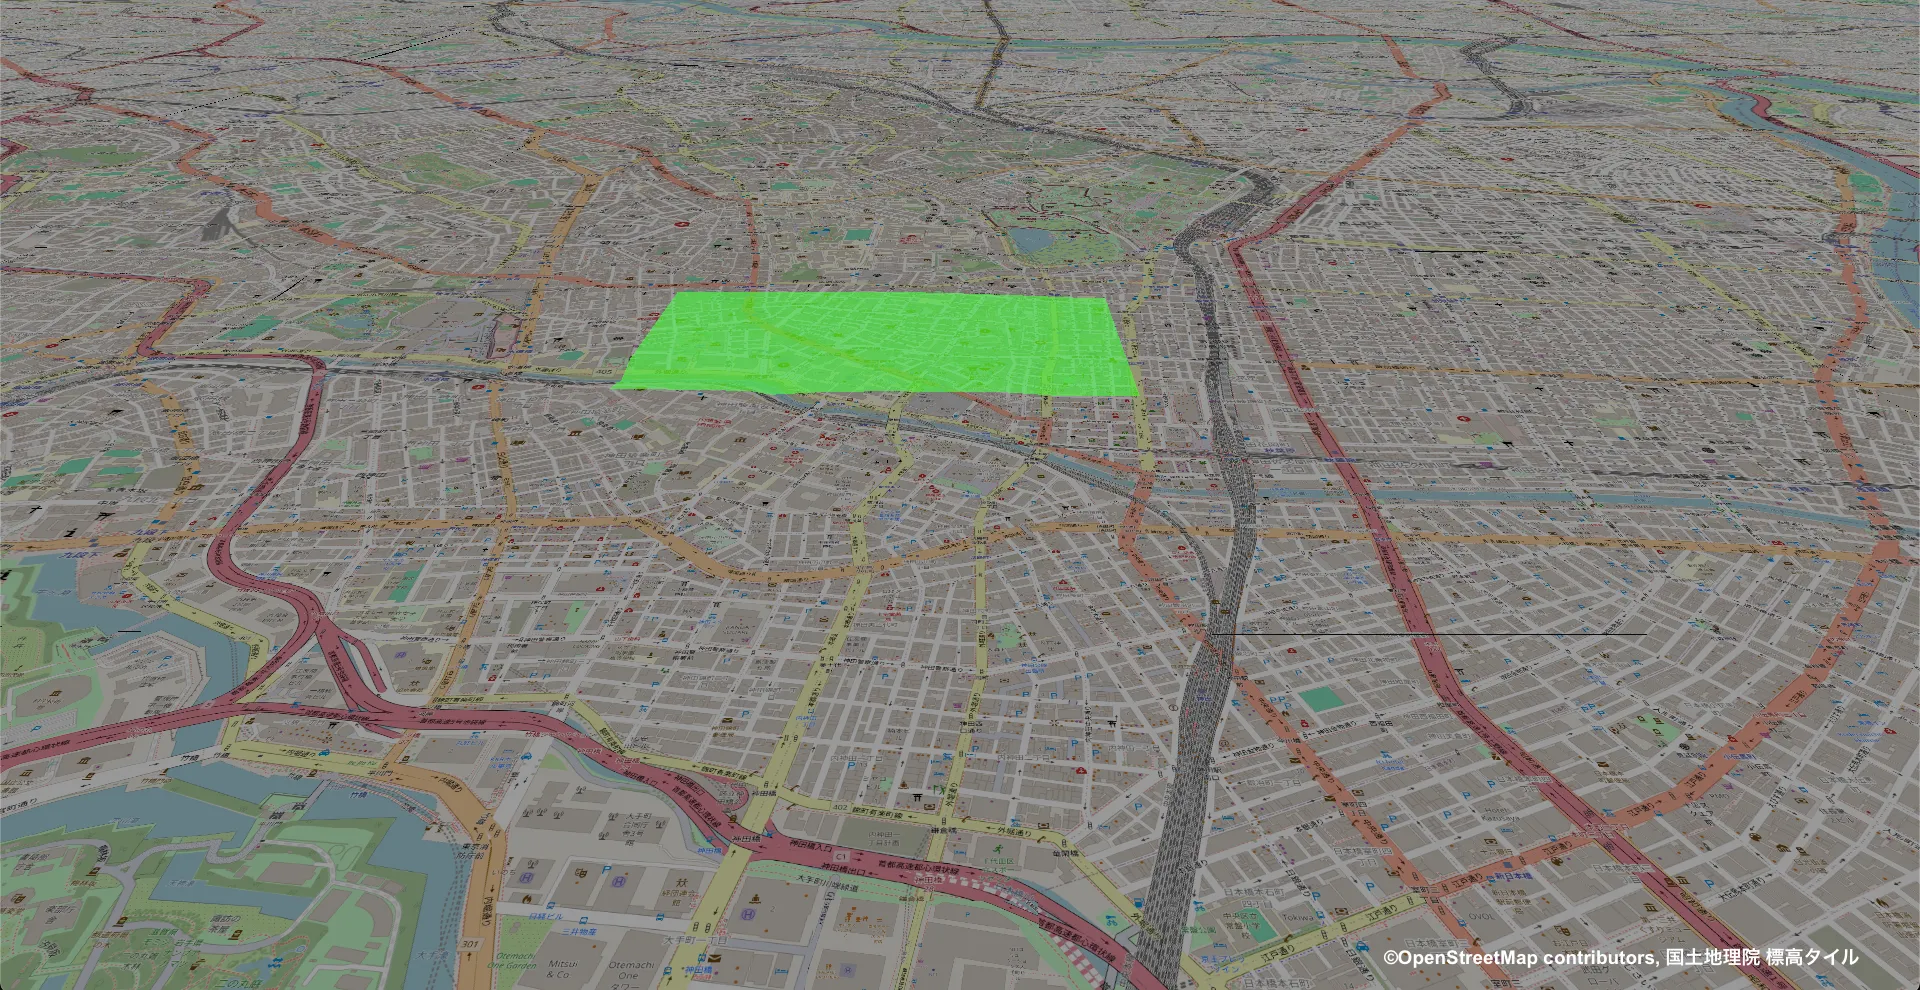
Section titled “Result”A polygon is displayed on the map.
Code Explanation
Section titled “Code Explanation”Register the GeoJSON data as a source with view.addSource({ type: "geojson", ... }), then render it with view.addLayer({ type: "vector", source, ... }). You can also configure polygon styling (color, height, transparency, etc.) via the polygon material.
For details, see Vector Layer.
Complete Code
Section titled “Complete Code”A complete example combining everything:
import ThreeView, { Color, JAPAN_GSI_ELEVATION_DECODER } from "@navaramap/three";import { DefaultPlugin, type DefaultDescriptions } from "@navaramap/three-default-plugin";
const plugin = new DefaultPlugin();const view = new ThreeView<DefaultDescriptions>({});view.addPlugin(plugin);await view.init();
view.addLight({  ambient: {},});
const demSource = view.addSource({  type: "raster-dem",  // Credit:  // - Geospatial Information Authority of Japan Tiles - Digital Elevation Map  //   https://maps.gsi.go.jp/development/ichiran.html  url: "https://cyberjapandata.gsi.go.jp/xyz/dem_png/{z}/{x}/{y}.png",  minZoom: 6,  maxZoom: 15,  elevationDecoder: JAPAN_GSI_ELEVATION_DECODER(),});view.addLayer({  type: "terrain",  source: demSource,  terrain: {    castShadow: true,    receiveShadow: true,  },});
view.addLayer({  type: "raster",  source: demSource,  hillshade: {},});
const osmSource = view.addSource({  type: "raster-tile",  // Credit:  // - © OpenStreetMap contributors  //   https://www.openstreetmap.org/copyright  url: "https://tile.openstreetmap.org/{z}/{x}/{y}.png",  maxZoom: 23,});view.addLayer({  type: "raster",  source: osmSource,});
// Polygon (area)const geojsonSource = view.addSource({  type: "geojson",  data: {    type: "Feature",    properties: {},    geometry: {      type: "Polygon",      coordinates: [        [          [139.75843063805576, 35.70688252862743],          [139.75843063805576, 35.700933240062355],          [139.77157543771887, 35.700933240062355],          [139.77157543771887, 35.70688252862743],          [139.75843063805576, 35.70688252862743],        ],      ],    },  },});view.addLayer({  type: "vector",  source: geojsonSource,  polygon: {    color: new Color().setHex(0x00ff00),    height: 0,    opacity: 0.5,    transparent: true,  },});
view.setCamera({  lng: 139.7671,  lat: 35.6812,  height: 1000,  heading: 0, // -180 to 180  pitch: -30, // -180 to 0  roll: 0, // -180 to 180});